
Until the end of December 2021, we have the opportunity to test computer simulator of Fanuc control for free. So if you use this control, program, set, train, it’s worth it because … it costs you nothing.
On the myFanuc website you can read more about both the offer and the software. With the lockdowns starting, Fanuc “reached out” to customers / users and allowed their CNC simulator to be tested for free for quite a long time. As I can see from forums and internet groups that some people have problems with installation and settings, let’s try to go through the process together.
First of all, registration
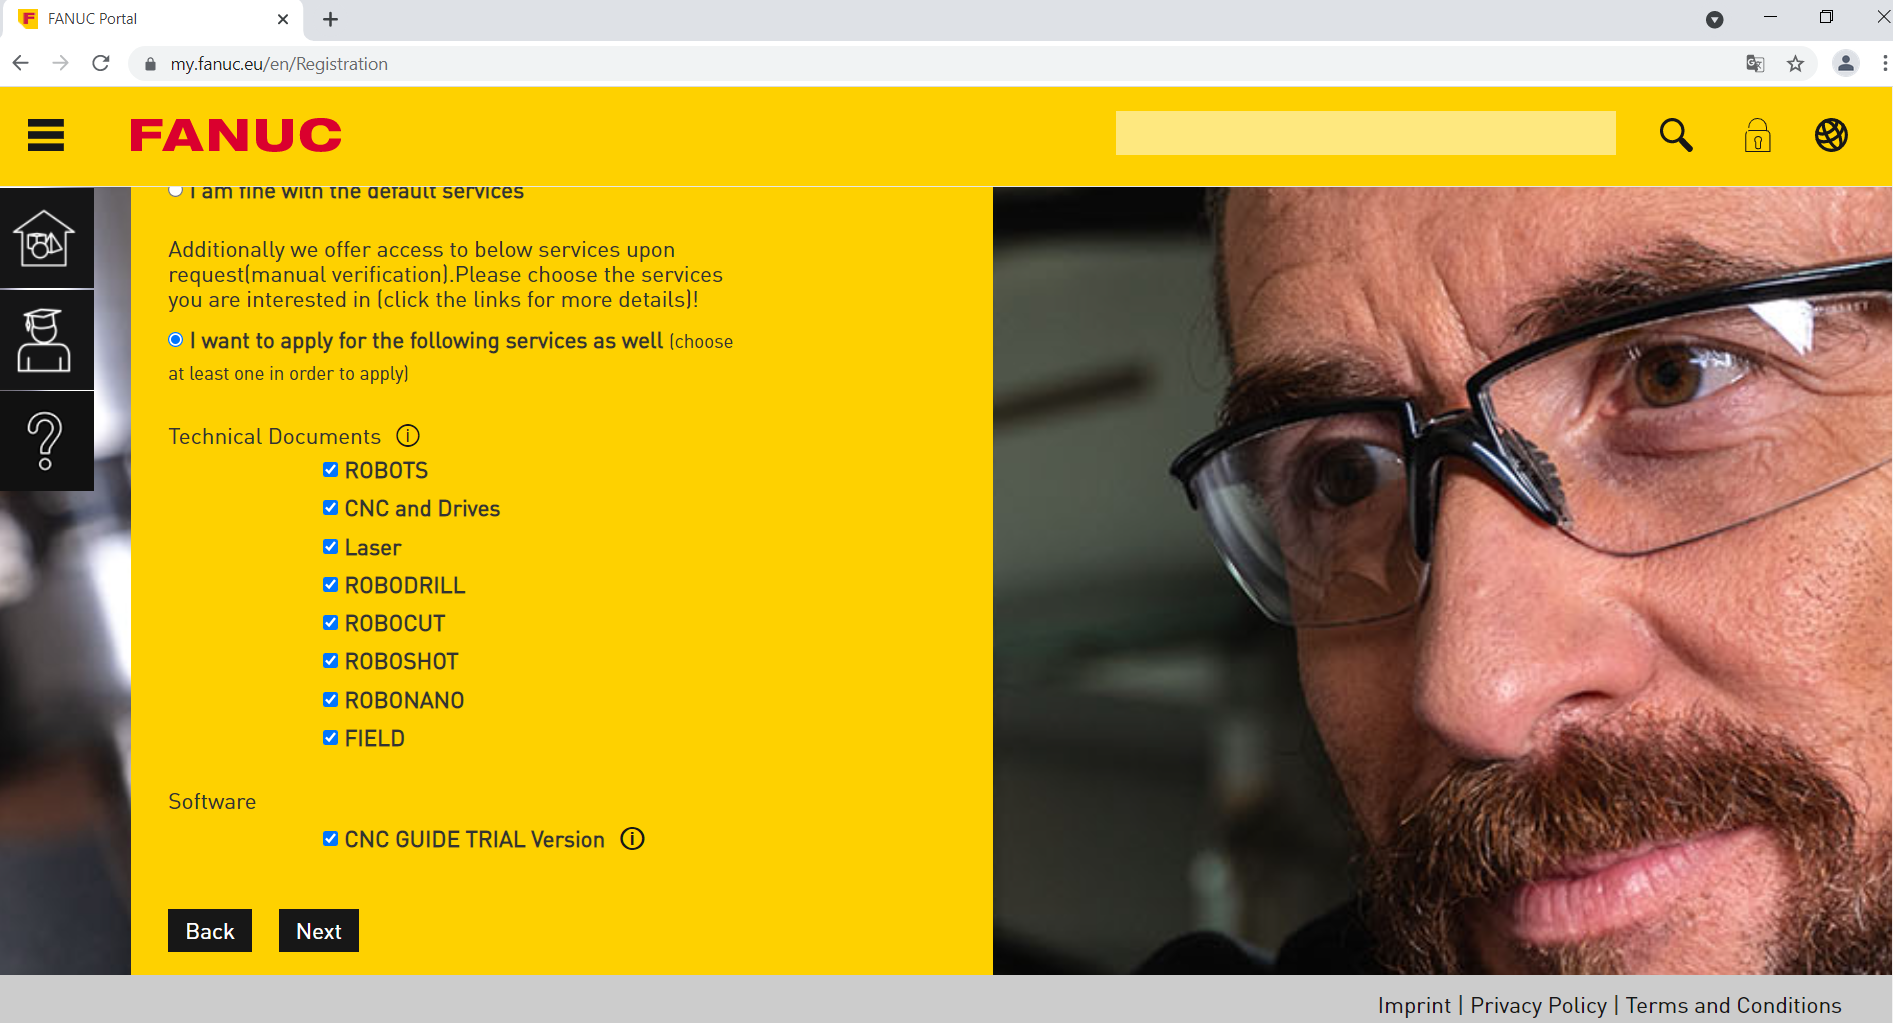
The condition for free installation and testing is registration on the myFanuc.eu portal (you can click on the link HERE). Registration has no disadvantages, and the advantages include access to materials and machine documentation. After completing the basic personal data in the first window and passing Next, complete the fields with the request for access to sources (such as machine documentation and CNC Guide software).
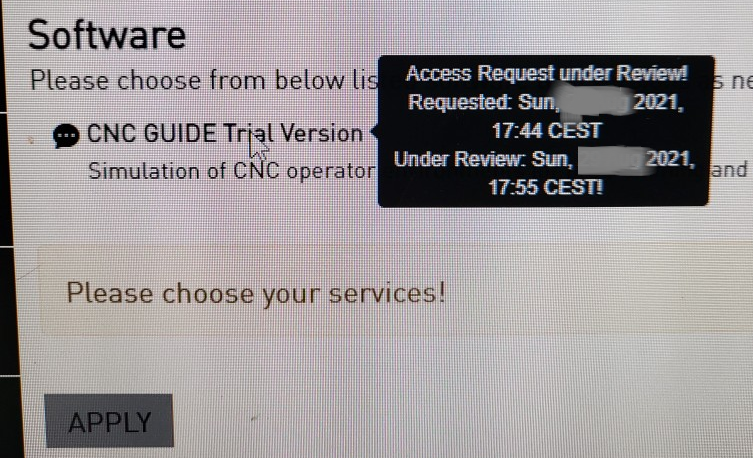
Access is not granted automatically – we have to wait a little.
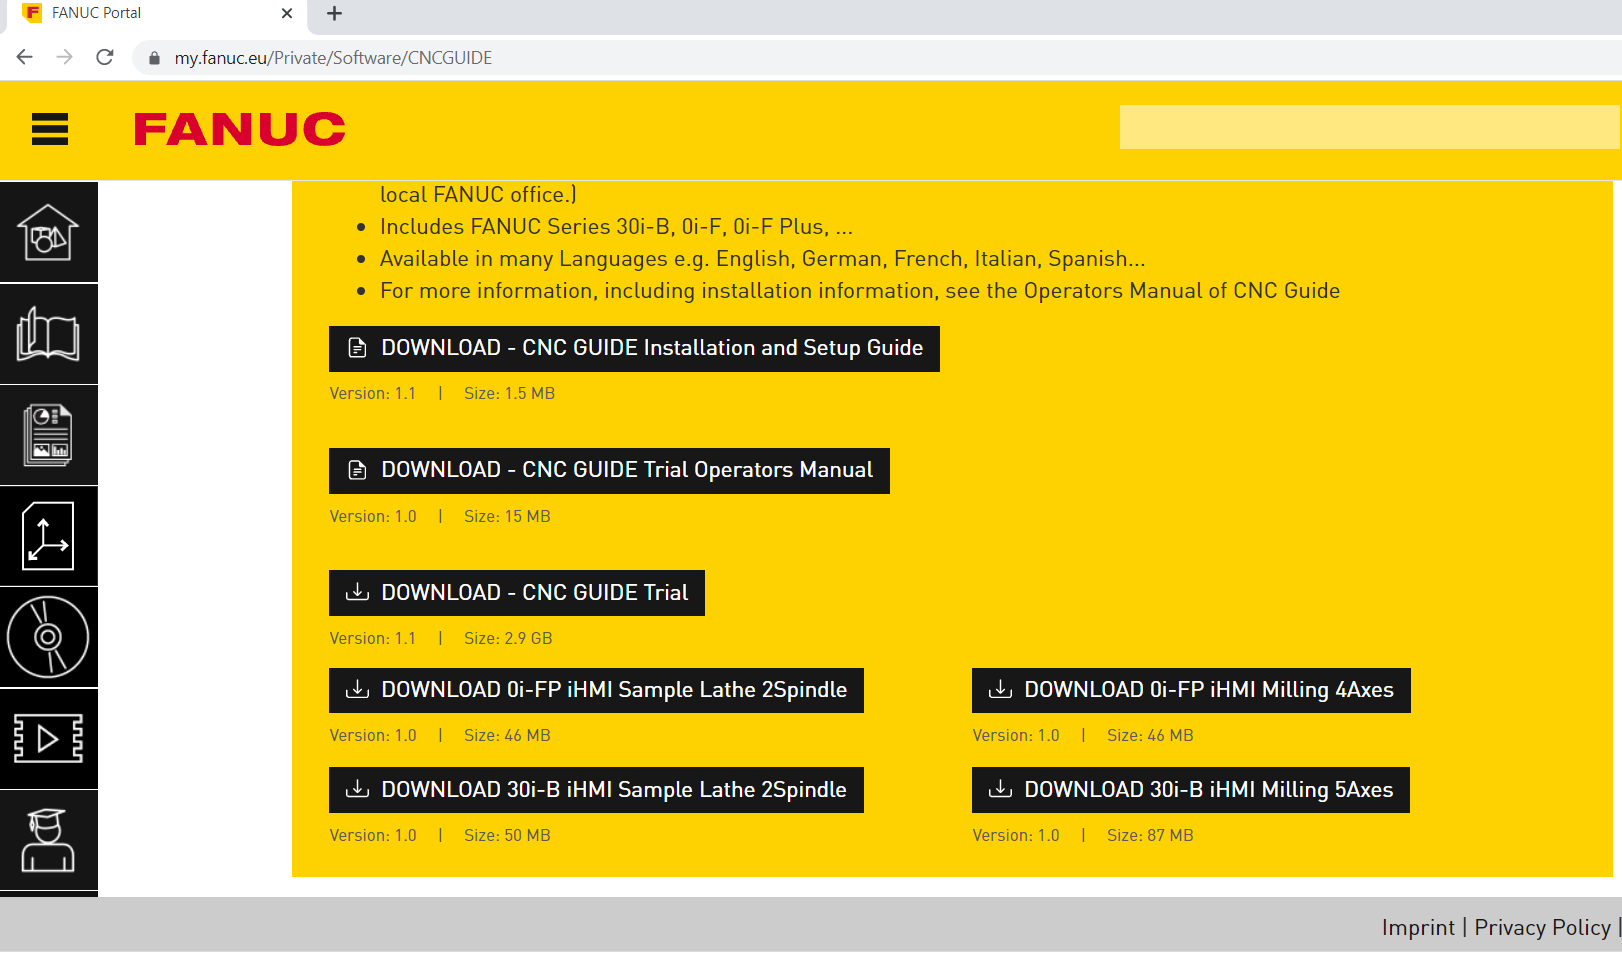
I encourage you to download, in addition to the installation, a specially prepared installation and software setup instructions. I can assure you that it will come in handy.
1, 2, 3… installation
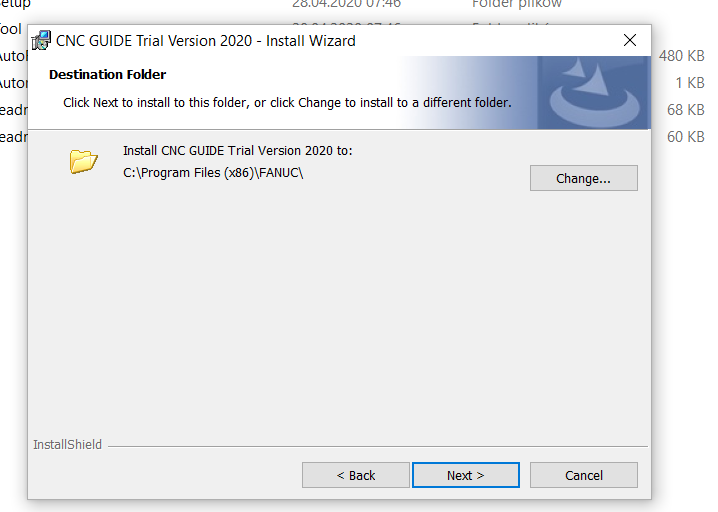
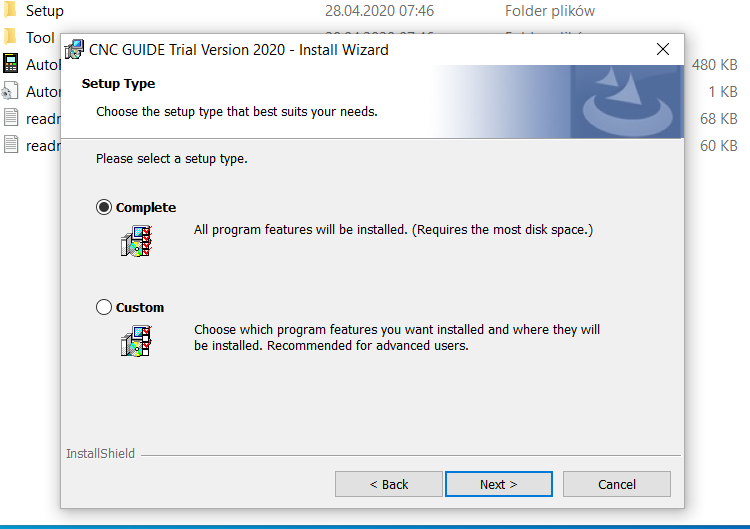
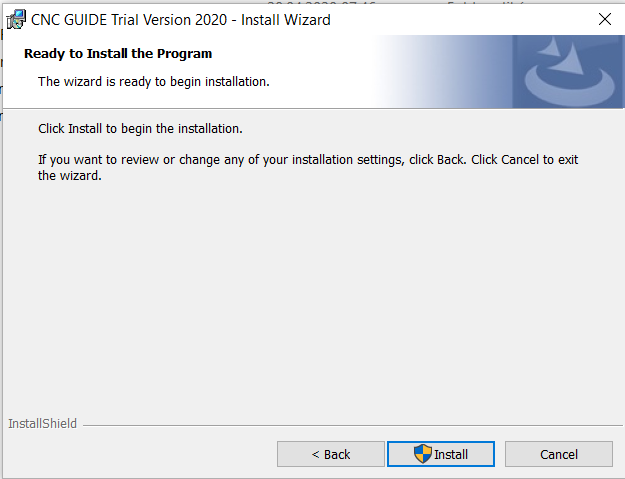
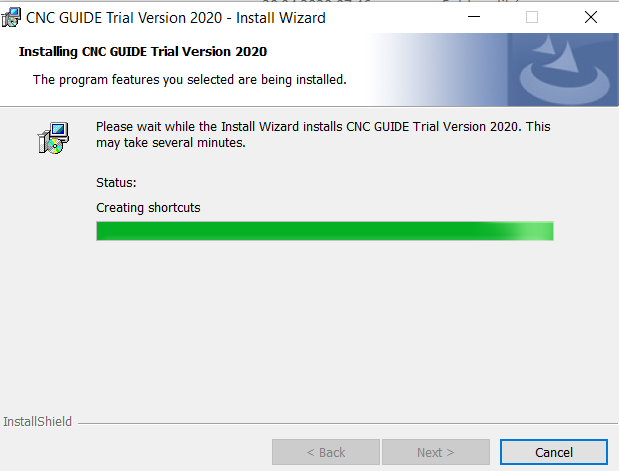
We unpack the files and run the installation
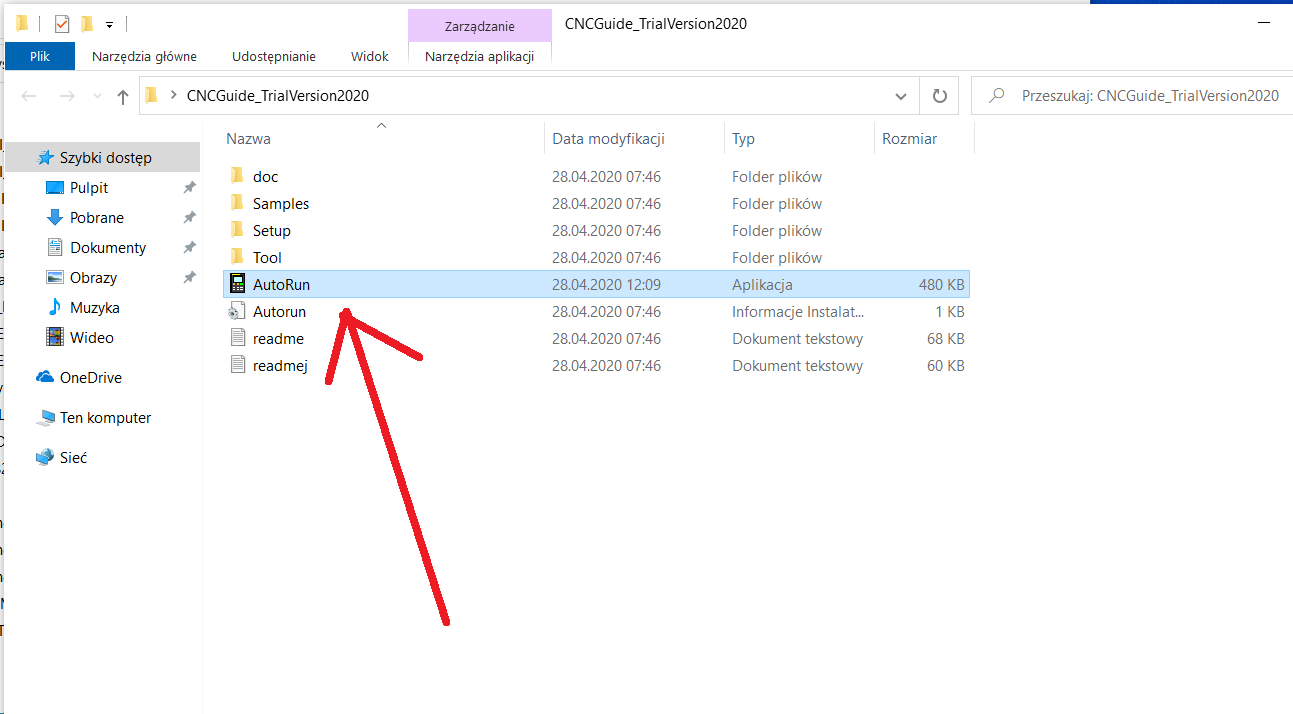
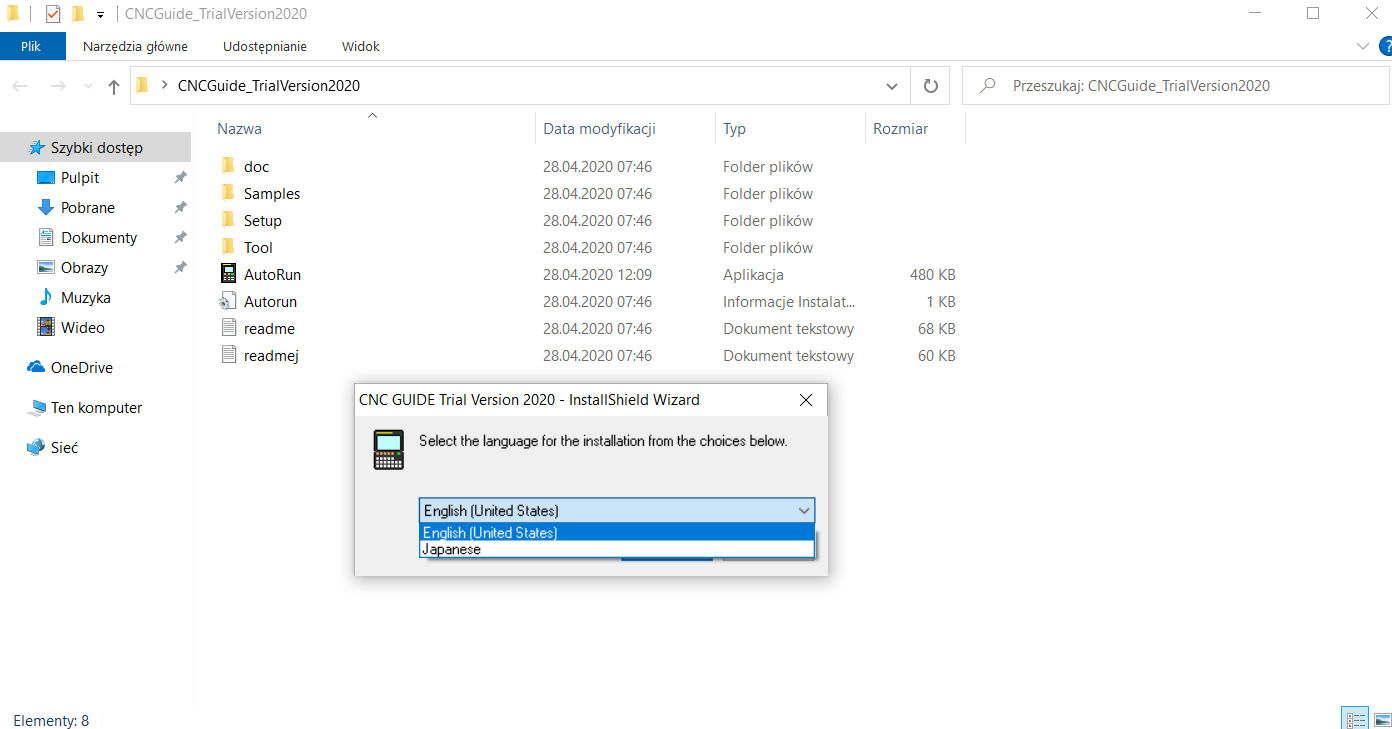
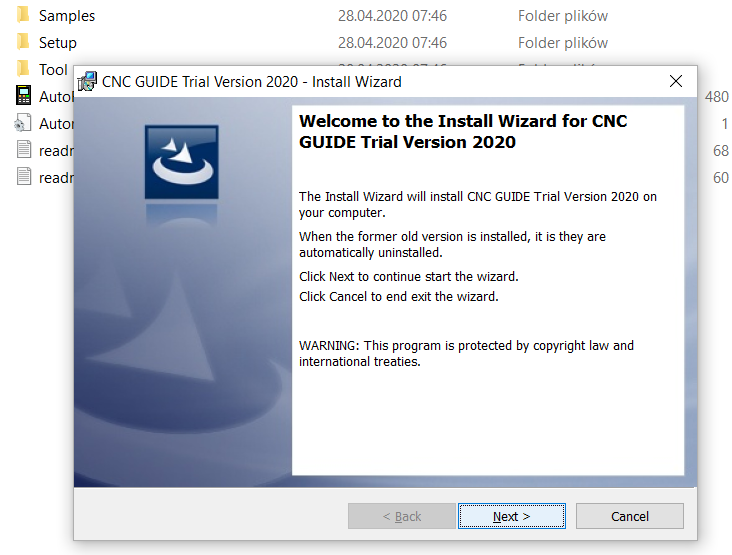
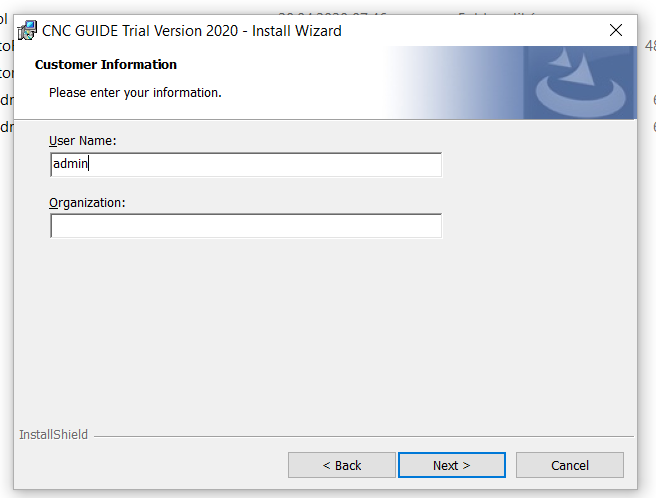
Follow the steps below – everything goes smoothly.
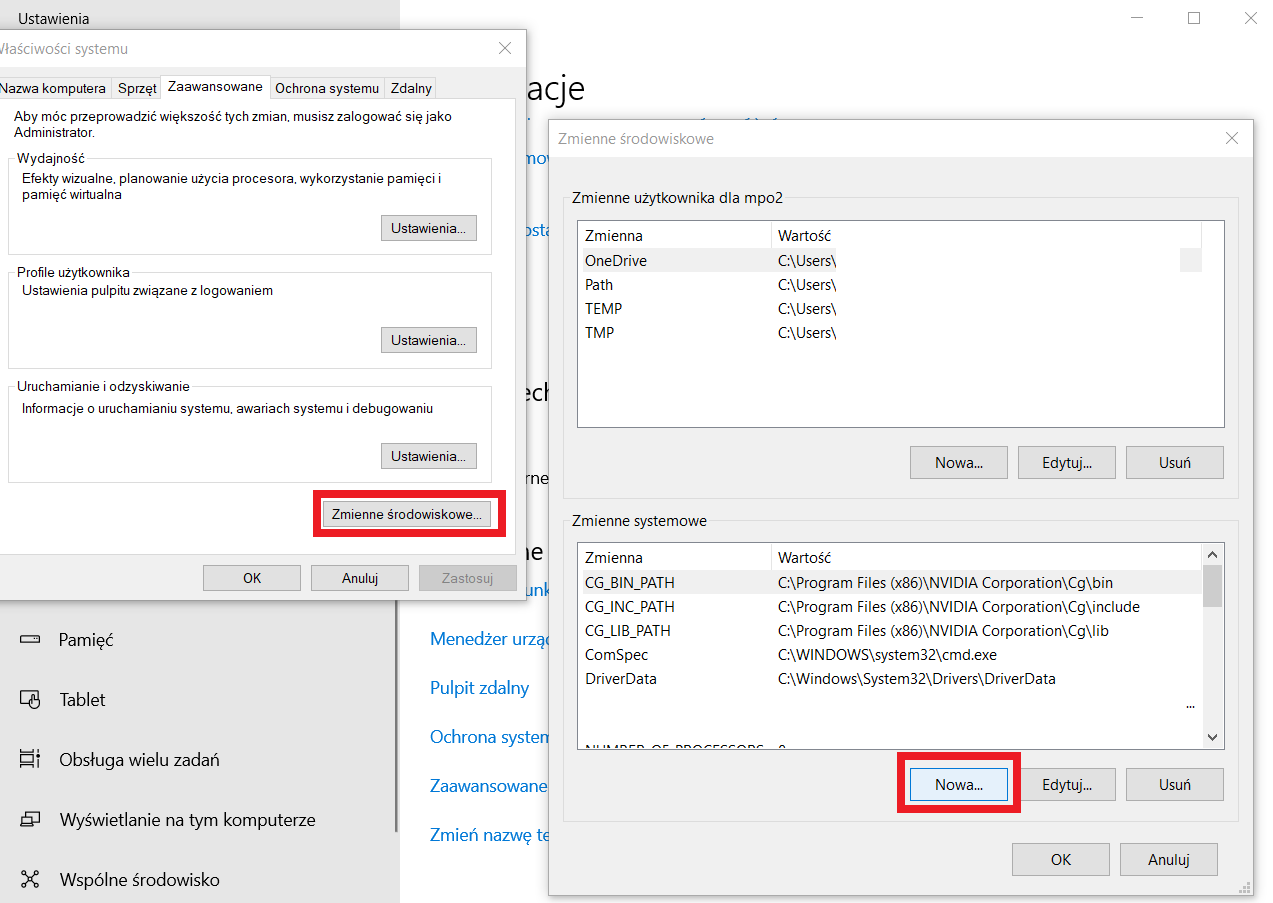
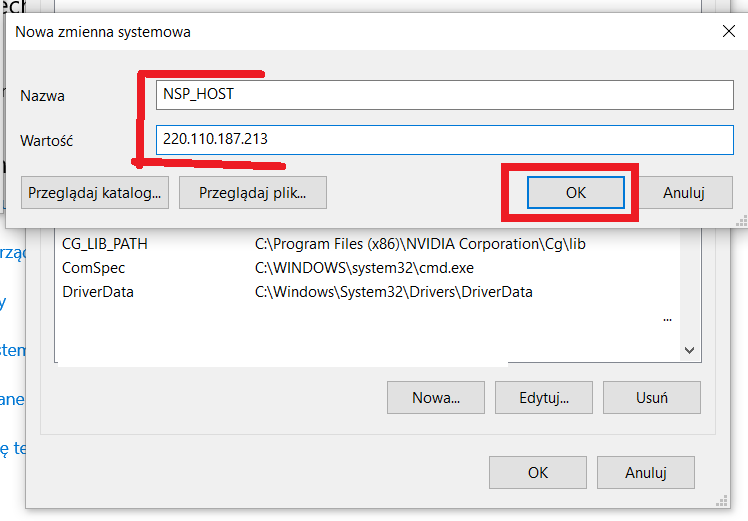
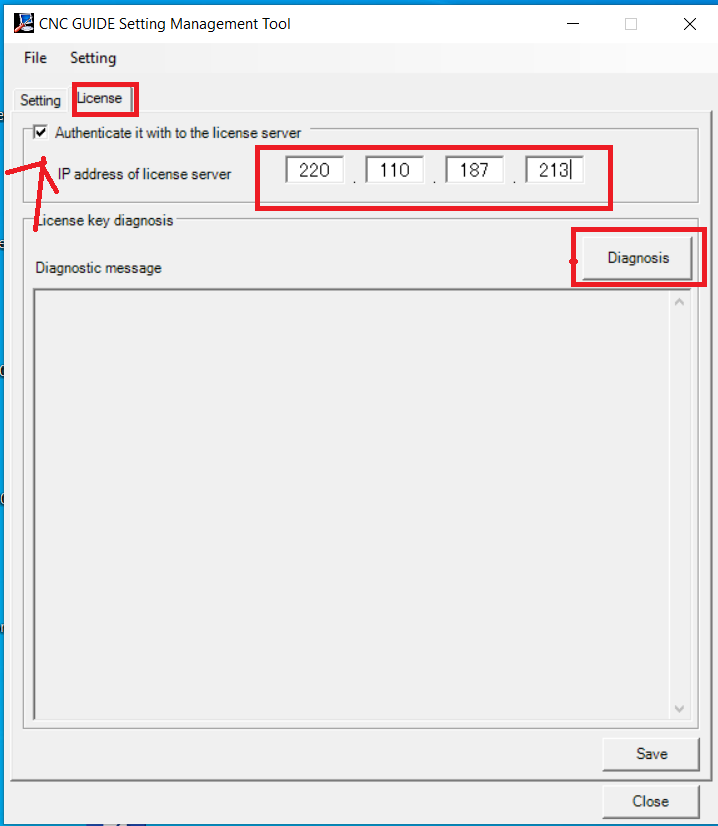
Software configuration

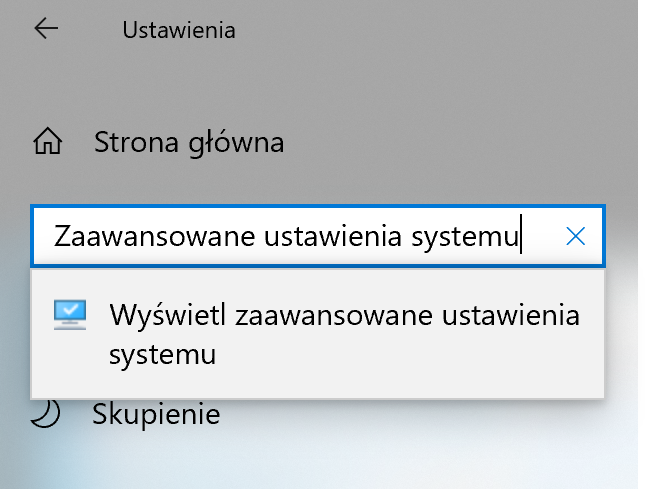

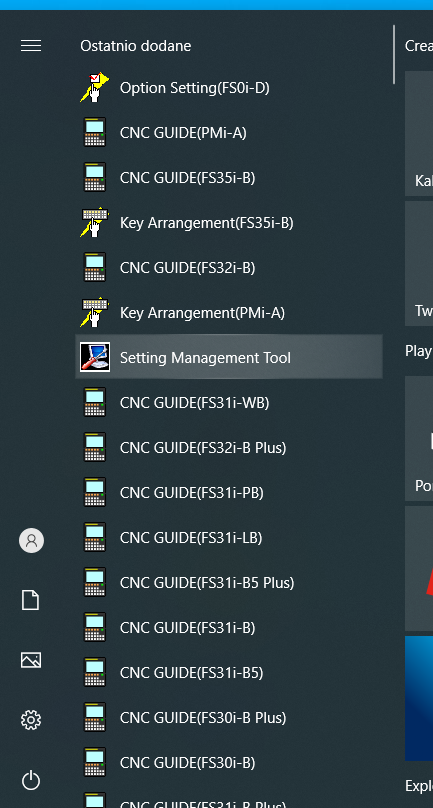
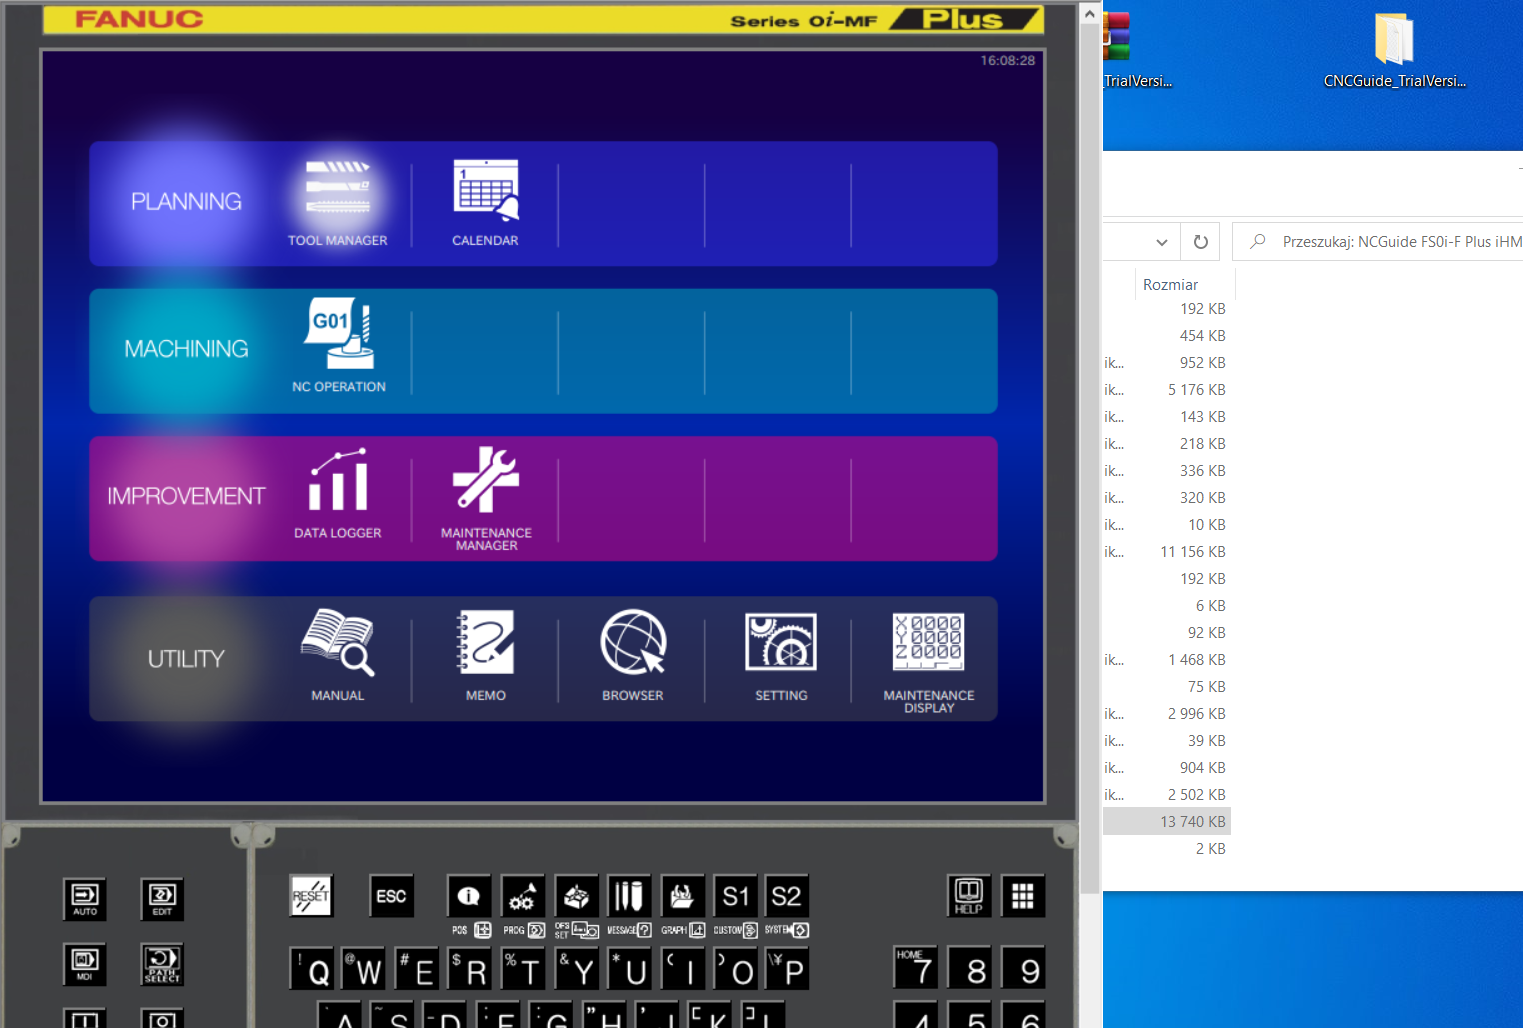
Let’s try to run the Setting Management Tool
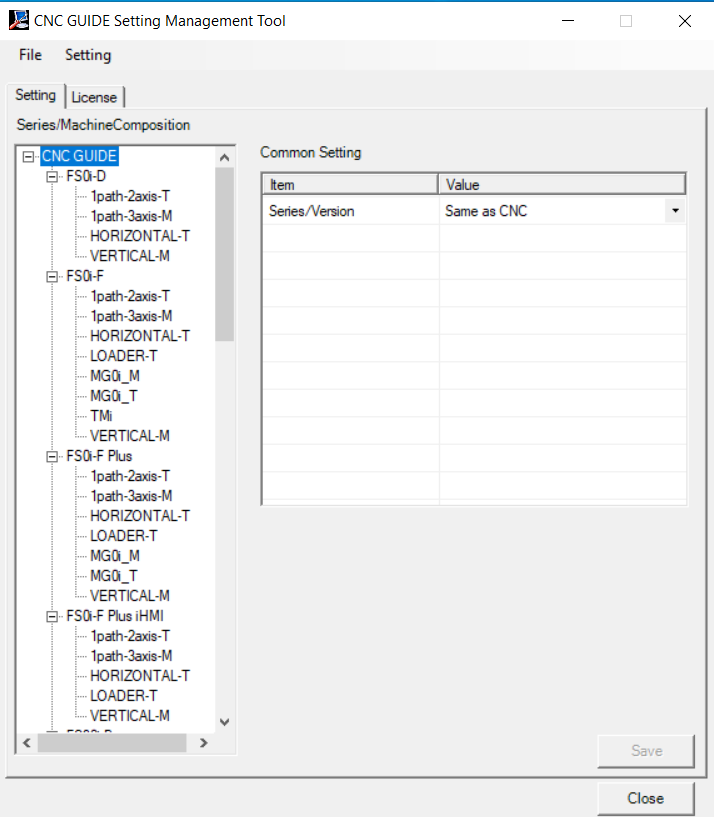
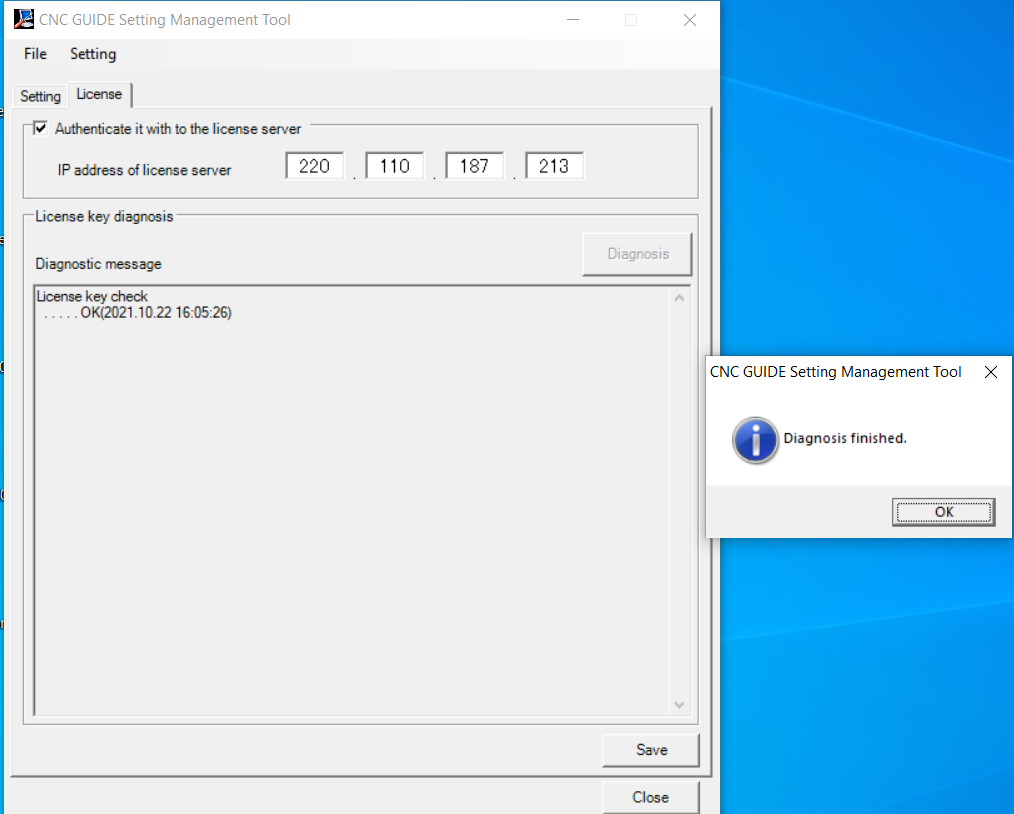
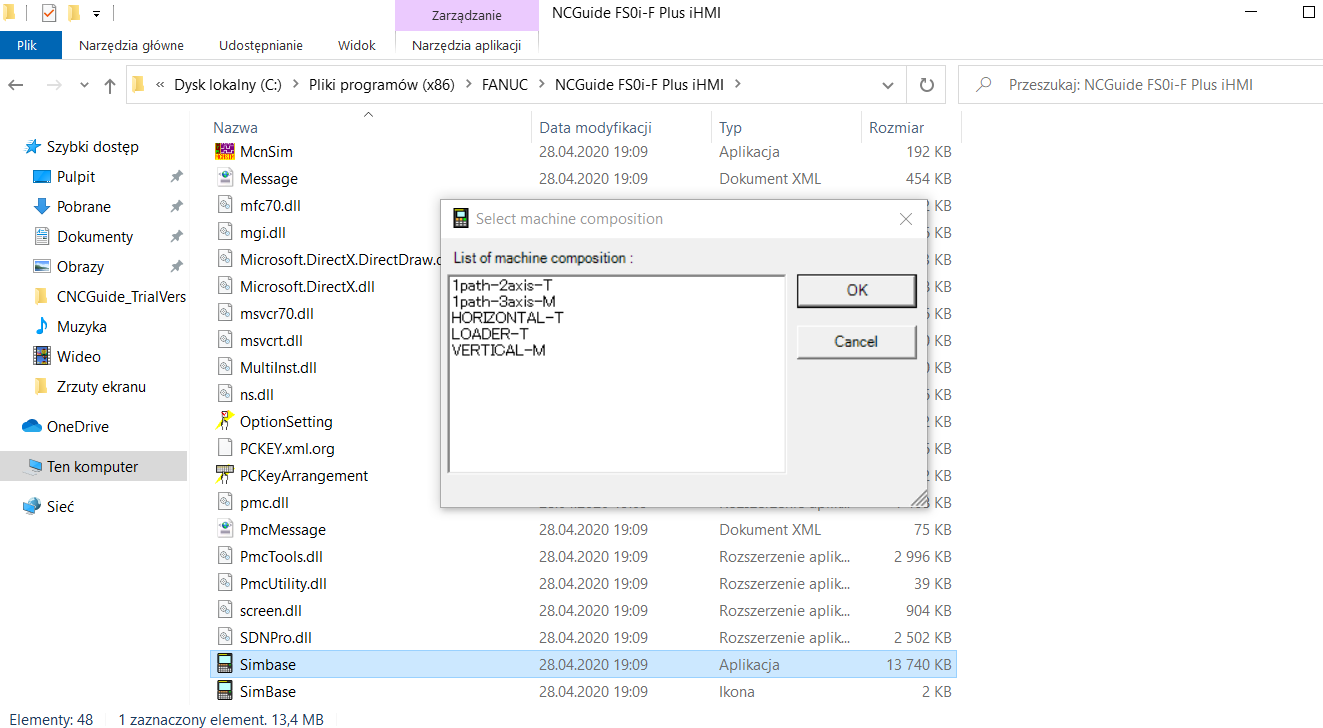
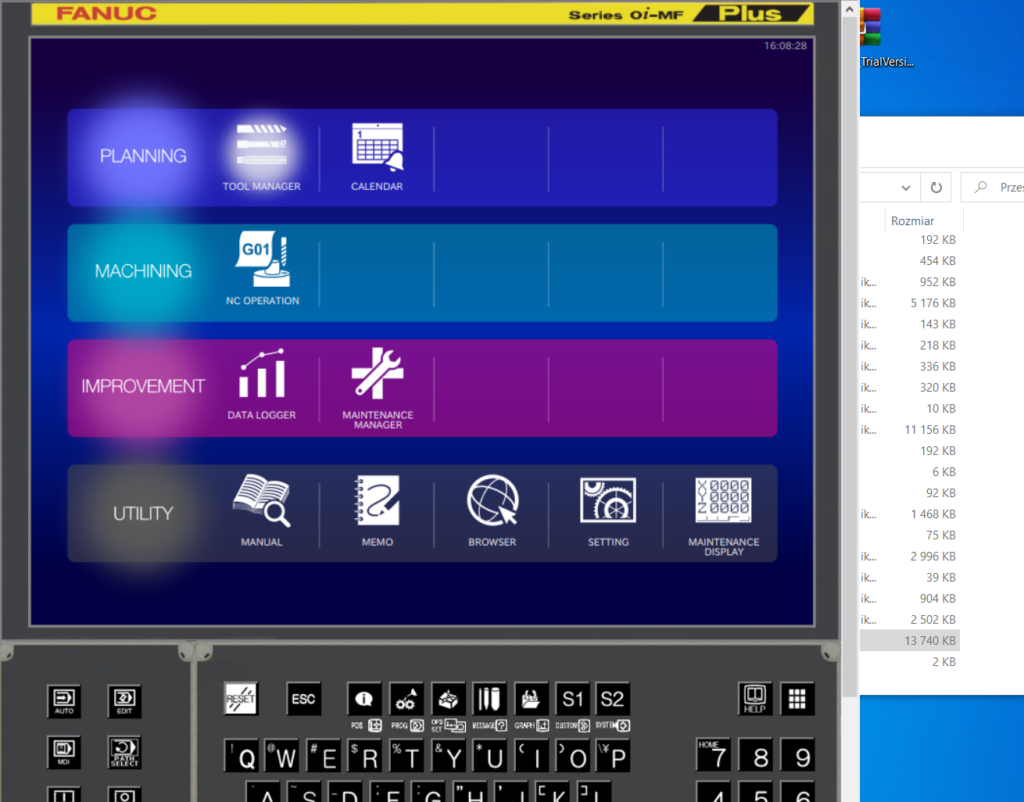
Everything was successful. In the next “good night fairy tail” a little about how to use the software, how to add a machine, etc.
Not sponsored post. We are happy to promote free access to knowledge – e-cnc-art likes it 😉